
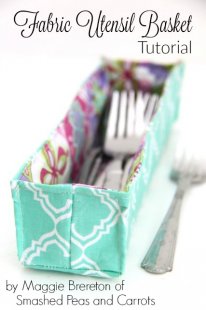
 Hi every person, it's Maggie from Smashed Peas and Carrots! I am so glad becoming right back right here to generally share another enjoyable and easy guide for your needs. You may love just how simple making these Fabric Utensil Baskets tend to be as you are able to make a drawerful very quickly. Hooray for getting your silverware as well as other utensils arranged for on a daily basis of baking and cooking when you look at the kitchen area.
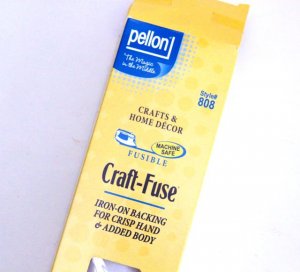
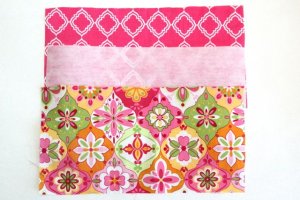
To make these Fabric Utensil Baskets you will require the immediate following: (2) 7 x 13 inch pieces of textile (per basket) (1) 7 x 13 inches piece of Pellon Craft-fuse (#808) or a cotton of poly batting iron and ironing board matching bond sewing-machine
 This is really what the Craft-fuse seems like. You may manage to think it is on a bolt at your local fabric store too. One side is shiny and adheres to textile whenever steamed with an iron.
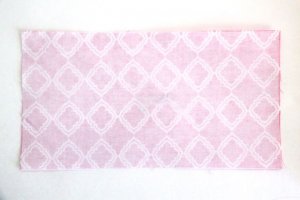
Before you begin this project, determine which material you want on the inside and which material you will want on the outside. I'm utilising the brilliant and happy
I made a decision that i needed the green geometric designed material internally.
Whichever textile is going to be on the inside you'll iron the Craft-fuse on wrong side of the textile following instructions for the Craft-fuse to adhere it.
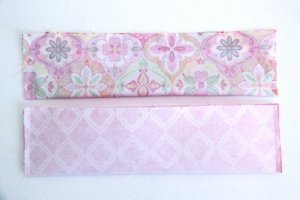
 Next, fold each 7 x 13 inches bit of fabric in two lengthwise or hot dog style. Sew a 1/4 inches seam allowance on each quick end.
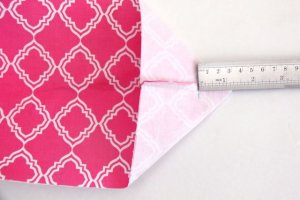
Next, fold each result in to make a triangle. Measure 1 1/4 inches through the tip and also make a little mark. Sew a line down over this level in one side to the other.
Next, clip the tip off making sure never to cut to the line you simply sewed. Each piece should seem like the origins of a basket today.
Next, place the outdoors fabric inside the inside textile basket to ensure correct edges tend to be dealing with. Smooth the corners as well as out of the sides.
 So now you goes all over whole edge of this container utilizing a 1/4 inch seam allowance making sure to leave a 2-3 inch orifice for switching.
The material utensil basket should look like this if you are done. Now you just need to flip the basket appropriate sides aside.
Smooth out each place and neaten the textile away before you decide to top stitch around the whole top side of the container.
If you want, you are able to squeeze each one of the corners on finishes and top stitch them besides. You can even sew along the bottom period of each container if you want an even more boxy look. We stitched down the sides and the length of the underside with all the red basket just and you can see below how the container find yourself a lot smaller tall after that in the event that you only sewed the sides or left all of them without any sewing
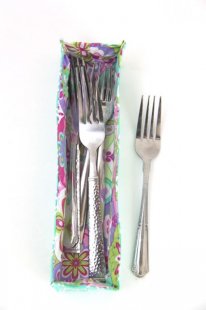
Now you can fill your baskets and straighten your cooking area drawers…or make use of these beauties in your craft or sewing room to hold bits and pieces! Many thanks for having me today! I really hope you have got enjoyable with this task and then make countless them. Please drop by and check out Smashed Peas and Carrots where you can find much more sewing tutorial, crafty DIYs, and delicious family members friendly recipes!
latest post
-
 Fabric Surface Design January 17, 2016
 -
 Irish Interior Design March 8, 2016
 -
 Textile Design Careers February 4, 2018
 -
 CAD for Textile Design March 21, 2017
 -
 William Morris textile designs February 26, 2019
 -
 Free Textile Designs November 16, 2017
 -
 Textiles Design briefs December 12, 2018
 -
 Top fabric designers November 2, 2018
 -
 Textile Printing company February 3, 2016